Picture this. You’re cruising down a trail on your mountain bike. Suddenly, the stem bolt strips. The handlebars twist wildly. You crash hard. That fun ride ends with a cracked frame and a $500 repair bill.
Lightweight aluminum bolts shine in bikes, drones, and cars. They cut weight while holding strong. Yet they’re softer than steel. A torque wrench applies exact twist force. It prevents bolts from getting too loose or too tight.
Aluminum threads strip three to five times easier than steel. Overdo the torque, and you ruin them fast. This post covers the risks, benefits, and steps to use a torque wrench right. You’ll save money and stay safe on your next project.
What Makes Lightweight Aluminum Bolts So Tricky to Fasten
Aluminum bolts tempt builders with their low weight. They boost performance in bikes and aircraft. Steel weighs more. Aluminum offers strength per pound. However, its properties demand care.
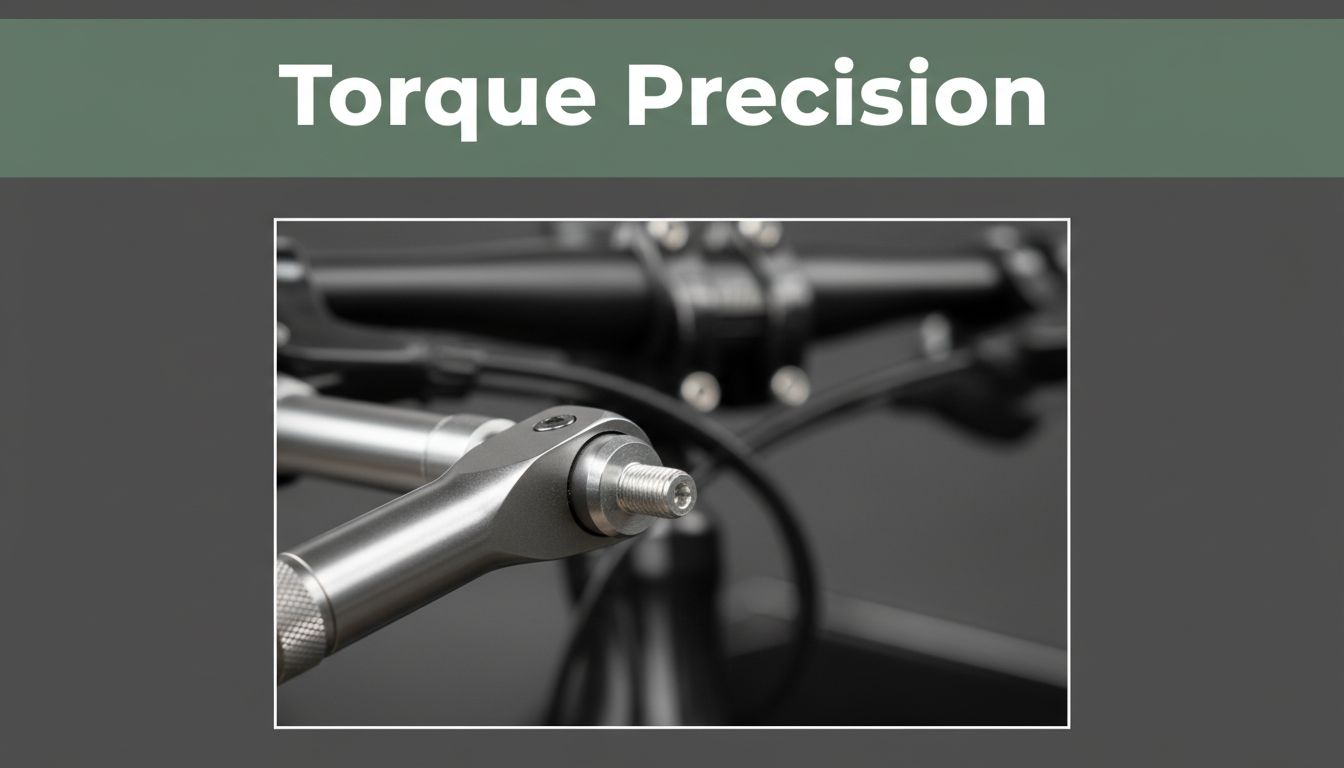
Aluminum yields at 40 to 50 ksi. Steel hits over 100 ksi. This lower strength means it deforms easier. Builders often see this in mountain bike stems. Hand tightening feels fine at first. Then it fails under load.
Precise torque specs rule here. Most run five to 20 foot-pounds. Steel bolts take higher values. Guesswork leads to trouble. Always check the manual.
Softer Threads Mean Easy Stripping
Aluminum threads crush under excess force. They mash instead of gripping tight. Take a five millimeter bolt. Push past eight foot-pounds, and it shreds.
Steel forgives mistakes better. It stretches a bit before breaking. Aluminum lacks that give. You hear a whistle as threads fail. Or see shiny, deformed metal.
This happens fast in bikes or RC cars. A quick over-twist ruins the hole. Replacement costs add up quick.
Galling: The Silent Fastener Killer
Galling strikes without warning. Friction builds heat. Metal seizes and welds together. Aluminum worsens this without lube.
Dry threads gall easy during install. Torque rises uneven. The bolt locks before reaching spec. Result? Weak joints that fail later.
Lube helps. Yet torque control prevents most cases. It keeps force steady and even.
Disasters Waiting Without a Torque Wrench
Skip the torque wrench, and problems mount. Overtightening destroys parts. Undertightening invites looseness. Real fails show the cost.
Bike forks snap from stripped bolts. Aircraft panels loosen mid-flight. Car wheels wobble free on highways. One loose lug nut caused a fatal crash in 2023.
Costs sting too. A set of M6 bolts runs $50 or more. Add labor, and it’s hundreds. Fear this. Then fix it right.
Overtightening Tears Everything Apart
Excess torque strips threads first. Stress concentrates. Cracks form over time. Frames fatigue and split.
Spot the signs. Threads look shiny and flattened. You hear a high-pitched squeal while turning. Stop there. Damage done.
Bike headsets crack this way. Drones lose props mid-air. Safety demands precision.
Undertightening Leads to Vibration and Failure
Bolts settle under vibration. Preload drops fast. Parts shift and loosen more.
Handlebars wander during rides. Shocks fail on rough terrain. One rider lost control at 30 mph from this.
Vibes worsen it. Check often without torque. Or use the tool from day one.
How a Torque Wrench Keeps Aluminum Bolts Happy and Secure
Torque wrenches deliver exact force. They ensure clamp load without harm. Bolts last twice as long. Safety rises. Rides stay smooth.
Click types suit beginners. They snap at the set value. Beam styles show deflection. Digital reads precise.
Repeatability wins every time. Specs match manufacturer charts. A six millimeter bolt might need 10 Newton-meters. Hit it exact.
Picking the Perfect Torque Wrench for Your Project
Match the range to your needs. 10 to 150 inch-pounds covers most aluminum work. Aim for two percent accuracy.
Use a quarter-inch drive for small bolts. Budget options under $50 work fine. Brands like Tekton deliver.
Test it first. Zero the dial. Practice on scrap. Confidence builds quick.
Nail It: Simple Steps to Torque Aluminum Bolts Perfectly
Success starts with prep. Then follow the sequence. You’ll nail it first try. Pro tip: re-torque after 50 miles. Settling happens.
Common pitfalls hurt. Dry threads gall. Wrong order stresses parts uneven. Avoid them.
Prep Work That Saves Headaches
Clean all threads first. Dirt hides gaps. Inspect for dents or wear. Toss bad bolts.
Apply thin anti-seize lube. A dab prevents galling. Align holes perfect. No forcing.
Gather tools. Wrench, allen keys, spec sheet. Ready set go.
The Torquing Sequence Every Time
- Hand snug the bolt. Feel resistance stop.
- Set wrench to spec. Double-check units. Inch or foot pounds.
- Torque slow and steady. Listen for click on click types. Stop exact.
- Move in cross pattern for multiples. Even pressure rules.
- Verify after. Tug test lightly. All good.
Mistakes? Rushing skips the click. Dry install invites gall. Sequence wrong warps plates. Slow down. Win big.
Bike stems take this path. Auto wheels too. Results last.
Using a torque wrench changes everything. You dodge stripped threads and loose parts. Rides stay reliable. Builds hold strong.
Grab one today. Test it on your next bike or car fix. Share your close call in the comments. What’s your worst bolt story? Precise torque means confidence on every turn.