You squeeze the brake lever on a downhill descent. Instead of a smooth stop, you hear a piercing squeal and feel weak grabbing power. That frustrating noise and poor control come from worn-out V-brake or cantilever pads, a common issue for beginner cyclists on hybrids, mountain bikes, or touring setups.
These pads wear down over time, especially if you commute daily or ride trails. Thin rubber leads to longer stopping distances and safety risks, like skidding on wet roads. Beginners often ignore the signs until it’s too late. Luckily, you can fix this at home and save money over shop visits.
This guide walks you through spotting wear, gathering tools, and swapping pads on both V-brakes and cantilevers. You’ll get safer rides, better control, and fresh confidence on every pedal stroke. Follow these simple steps, and you’ll handle replacing V-brake pads or cantilever brake pads without hassle.
Spot Worn-Out Brake Pads Before They Let You Down
Check your brake pads often to stay safe. Beginners should inspect after every 1,000 miles or at the start of each season. Worn pads cause squeals, weak stops, or uneven rim contact. Spot them early, and you avoid close calls.
One new rider heard grinding on a group ride. He checked his pads right away. That quick look prevented a wipeout on the next turn. Always prioritize safety; ride slow until you replace them.
Quick Visual and Touch Inspection Tricks
Lift your bike by the seat. Spin the wheel freely. Squeeze the lever and watch the pads hit the rim. The gap should feel paper-thin when released.
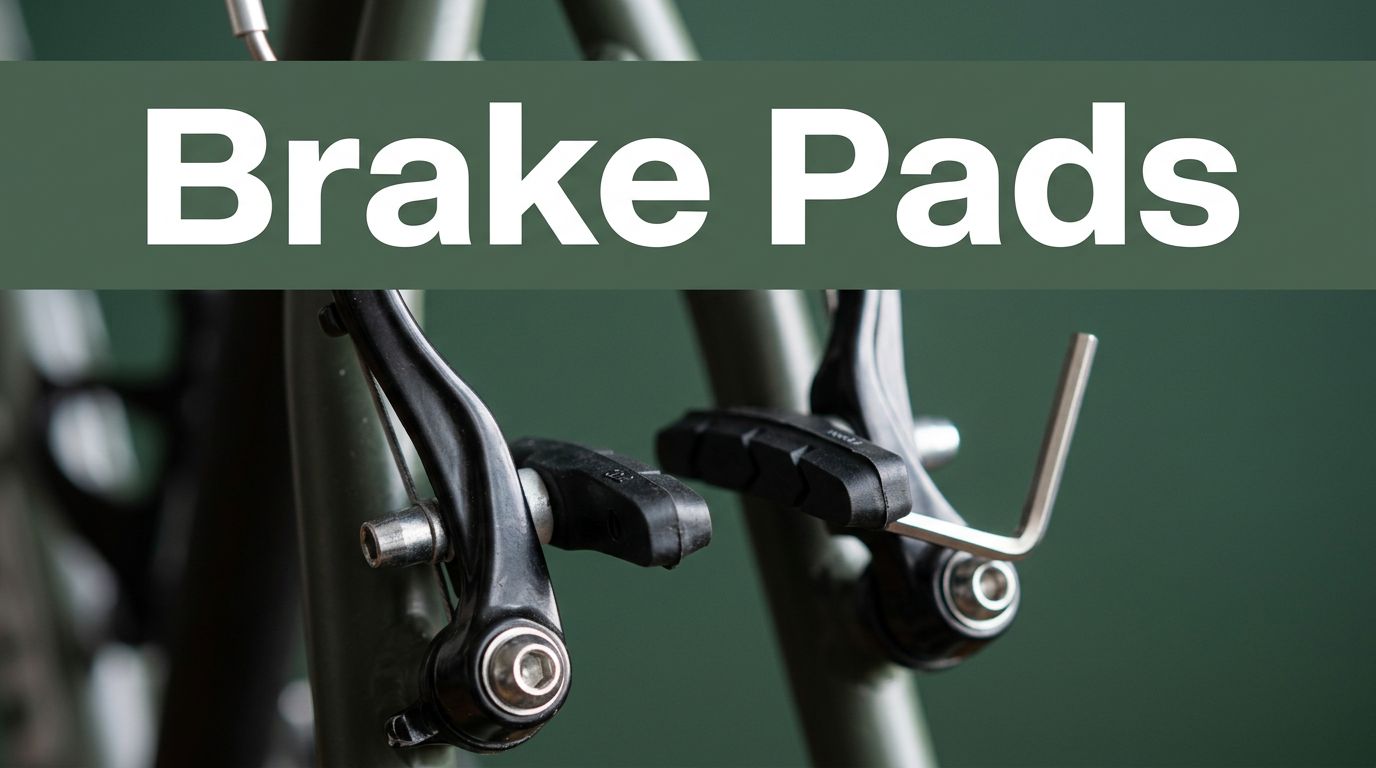
Look at the rubber surface. Healthy pads measure over 1.5 mm thick; use a ruler for accuracy. Check for cracks, shiny glazing, or missing chunks. V-brake pads look fish-shaped and curve to the rim. Cantilever pads sit upright on longer arms.
Pinch the pad between fingers. It should feel firm, not squishy or oily. Wipe off dirt first. Wear gloves if grease covers everything.
Listen and Feel for Brake Failure Warnings
Ears tell a big story too. A high-pitched squeal signals metal scraping the rim; that’s urgent. Vibration through the bars means uneven wear or contamination.
Feel the lever during a slow roll. It grabs mushy or requires full squeeze for weak stops. On wet roads, problems worsen fast. Pulling to one side shows imbalance.
Test in a driveway. Note longer distances to stop. These clues demand action before your next trail ride.
Gather These Must-Have Tools and Pads for the Job
Start with the right supplies. You need new pads matched to your bike’s brand, like Shimano or SRAM. V-brake pads differ from cantilever ones, so double-check.
Buy at a local shop or online retailers. Expect $10 to $30 per pair. Pick rubber compounds for your rides: softer for roads, tougher for dirt. Grab extras for future swaps.
Inspect cables and housing too. Rusty parts weaken performance.
Here’s a quick list of essentials:
| Tool/Item | Purpose |
|---|---|
| Allen keys (4-6mm) | Loosen pad bolts and arms |
| Screwdriver | Adjust cables or posts |
| Pliers | Pull pins or cables |
| Brake cleaner | Remove old rubber and grime |
| Rubbing alcohol | Clean metal parts |
| Cotton rags | Wipe everything dry |
| New pads | Direct replacement |
A torque wrench helps for precise tightening, but skip it first time. Clean tools after use.
Replace V-Brake Pads Step by Step Like a Pro
V-brakes rule on hybrids and mountain bikes. They use curved arms that squeeze the rim. Put your bike on a stand for easy access. Remove wheels if space feels tight.
Patience pays off for beginners. Work one brake at a time. This keeps things simple.
Remove the Old Pads Without a Fight
Note how the cable routes first. Release cable tension at the barrel adjuster.
Use a 5mm Allen key on the pad holder bolt. Loosen it fully. Slide out the old pad and any toe-in shim.
Clean the slot with brake cleaner and a rag. Check for bent holders or debris. Straighten if needed.
Install New Pads and Get Perfect Alignment
Orient the new pad right: curved side faces the rim. Add the shim if your old one had it.
Set toe-in: front edge touches rim first. Use a matchstick between pad and rim as a spacer.
Tighten the bolt to snug, around 6-8 Nm. Reattach the cable. Adjust barrel for light lever pull.
Spin the wheel. Arms should sit parallel to the rim. No rubbing yet.
Test Your Work for Safe Stops
Take a short ride in a safe spot. Squeeze levers; feel firm response.
Bed in the pads: from 10 mph, do 20 firm stops. Avoid locking wheels.
Check clearance again. Adjust springs if one side drags. Ride farther once confident.
Swap Cantilever Brake Pads with Confidence
Cantilever brakes suit touring and cross bikes. They feature long arms and a straddle cable above the tire. The process mirrors V-brakes but tweaks for the setup.
Loosen the straddle cable pinch first. This gives arm slack.
Handling the Unique Cantilever Setup
Find the pad post or pin. Push it out with pliers or unscrew the bolt.
Pull the old pad free. Note orientation; new ones match exactly.
Spray cleaner on pivots and posts. Dry thoroughly. Inspect springs for rust.
Fine-Tune for Smooth Cantilever Performance
Insert new pads. Reinstall pins snugly.
Balance arms with spring adjusters. Both should move evenly.
Set toe-in like V-brakes. Adjust cable tension and limit screws if your model has them.
Test spin: even contact, no pull. Bed in during a gentle ride.
Avoid Rookie Mistakes and Make Pads Last
Pick the wrong pad type, and brakes fail fast. Match your brake model exactly.
Overtighten bolts; they strip threads. Undertighten, and pads shift.
Skip cleaning, and grime shortens new pad life. Always wipe fresh.
Ignore toe-in; it causes squeals or rim wear.
Maintain monthly: clean after rain, check thickness. Replace every 1,000 to 3,000 miles based on use.
Choose compounds wisely: organic for dry roads, sintered for mud. Store your bike dry.
V-brakes fit sportier bikes; cantilevers handle loads better. Home swaps save $50 per visit.
Share your fixes in comments below.
Replacing worn V-brake or cantilever pads turns frustration into smooth control. You spot issues early, swap them simply, and ride safer.
Grab tools this weekend. Test your brakes soon. Fresh pads mean confident descents and money saved.
What held you back before? Drop a note; let’s chat bike hacks.