You pull into your driveway after a long drive. Your car looks great overall. But those rims? Black smudges circle the lug nuts. Shiny streaks coat the spokes. You wash them again. The dirt comes back fast.
These marks come from brake pad aluminum deposits. Semi-metallic pads wear down during stops. Tiny metal bits fly off. Brakes heat up. Those particles bake onto your rims. They stick like glue. Alloy wheels suffer most. Painted ones too.
Don’t worry. You can remove this buildup safely. Your rims will shine like new. Plus, protect them for months. No harsh chemicals. No scratches. This guide shows you every step. You’ll save time and money. Expect less cleaning later. Follow along. Your wheels deserve it.
Why Brake Pad Aluminum Deposits Ruin Your Rims’ Look
Brake pads contain aluminum for strength. They grind against rotors. Particles break free. Heat from friction welds them to rims.
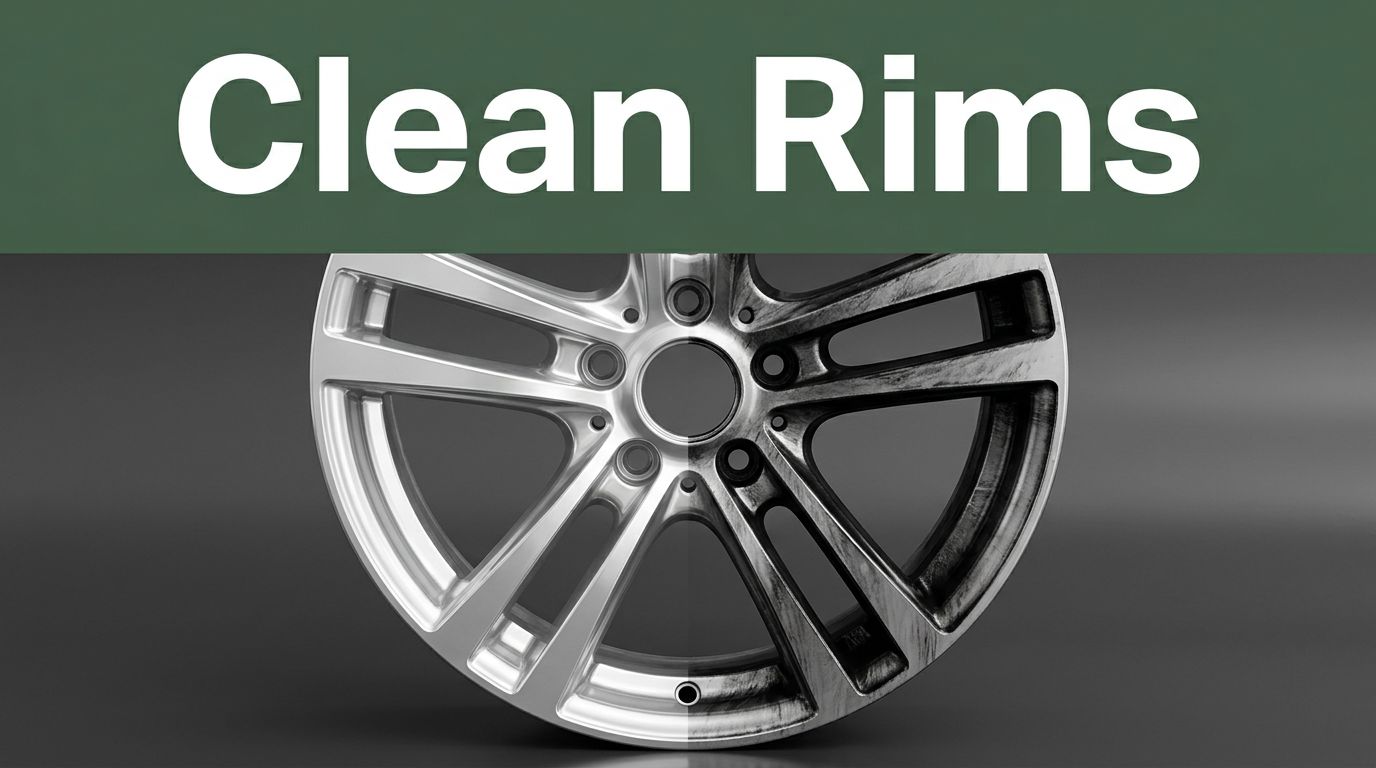
You see black powder near bolts. Silver smears on edges. Rims stay dull after soap and water. Sound familiar? That’s the residue.
It builds fast. Most cars show it after 10,000 miles. Street driving speeds it up. Hard stops make it worse.
Ignore it. Pits form. Corrosion sets in. Finishes fade. Alloy rims pit like orange peel. Painted ones chip.
Think of crumbs on a hot pan. They burn in. Scrub too hard. You gouge the surface. Deposits act the same. They trap more dirt. Your wash feels wasted.
Alloy wheels grab it most. Polished lips turn hazy. Clear coats yellow. Check yours now. Early spots mean easy fixes. Delays lead to pro costs.
Gather Your Cleaning Kit: Tools That Make It Easy
Start with the right gear. It keeps things simple. No damage. Quick results.
Pick a pH-neutral wheel cleaner. Or iron remover for aluminum. Acid-free ones work best. They dissolve deposits without etching. Spray bottles cost under $15 at auto stores.
Grab two soft-bristle brushes. One wide for faces. One thin for slots. Nylon bristles flex. They won’t scratch.
Add microfiber towels. Four or five. They trap gunk. No lint. Buckets with grit guards stop swirl marks. Nitrile gloves protect skin.
Hose or pressure washer rinses clean. Low pressure avoids dents.
Optionals help. Rim protectant spray lasts weeks. Clay bar tackles stubborn bits.
Work in shade. Engine cool. Test cleaner on a spot first. Safe for painted rims.
This kit runs $40-60. Buy online or local. You’ll use it often. Less mess means more shine.
Remove Deposits Without Scratching: Your Foolproof Steps
Patience wins here. Follow these steps. You’ll dissolve gunk safely. Rims gleam fast.
Park in shade first. Let brakes cool 30 minutes. No hot metal.
Spray remover everywhere. Let it sit 3-5 minutes. Watch color change. It reacts.
Brush gently. Rinse. Dry right away. Repeat for tough spots.
You’ll see deposits lift. No elbow grease needed.
Prep Your Rims and Space Right
Choose a flat spot. Garage works best. No sun. Heat bakes cleaners.
Cool wheels fully. Drive heats brakes. Wait after trips. Thirty minutes cools them.
Pre-rinse loose dirt. Hose top down. Removes sand.
Tape tires if needed. Strong cleaners sting rubber. Wet towel over calipers blocks spray.
Gloves on. Eye protection too. Ventilate area. Chemicals fume.
Prep prevents slips. Smooth start every time.
Apply Cleaner and Let It Work Its Magic
Shake bottle well. Spray full coverage. No dry rims.
Dwell time matters. Three to five minutes typical. Heavy buildup? Ten minutes max.
Purple turns black as it eats metal. That’s the sign. Bonds break.
Work one wheel at a time. Keeps it wet. Fresh reaction.
No rubbing yet. Chemicals do the lift. Patience pays off.
Brush, Rinse, and Repeat as Needed
Soft brush now. Light circles. Hit vents and lips.
Edges trap most. Lug areas too. No metal scrapers. They gouge.
Rinse top to bottom. Low pressure blasts residue.
Check close. Spots left? Re-spray. Agitate again.
Wheel stand helps solo. Flip for access. Two rounds often clears all.
Dry for a Streak-Free Shine
Pat with microfiber. No rubbing. Traps water drops.
Blow crevices. Compressed air or towel corners.
Polish final pass. Clean side. Shine pops.
Inspect light. Touch up misses. Streak-free now.
Lock in the Clean: How to Protect Rims Long-Term
Clean rims fade fast. Seal them. Less work later. Shine lasts.
Ceramic coatings bond deep. Polymers repel dust. Apply right after dry.
Switch pads too. Clean biweekly. Your wheels stay sharp.
Imagine fewer deep cleans. Head turns follow.
Seal with a Tough Coating
Rims bone-dry first. Shake sealant.
Applicator pad spreads thin. Even coat. Faces and lips.
Let cure 20 minutes. Buff excess. Microfiber shines it.
Spray types quick. Liquids tougher. Last 6 months. Reapply then.
Test small. Bonds grow stronger. Dust slides off.
Upgrade Your Brakes for Less Mess
Low-dust pads cut residue. Ceramic types shine. Less aluminum.
They quiet stops. Wear steady. Organic softer too.
DIY swap if handy. Tools basic. Shop does pairs cheap.
Trade-off? Faster wear sometimes. Worth clean rims.
Check fit for your car. Peace follows.
Build a Simple Maintenance Habit
Quick spray weekly. Rinse. No dry scrub.
Monthly full clean. Pair with washes. Efficient.
Calendar reminds. App tracks miles.
Habit builds. Rims reward you. Effort drops over time.
Pitfalls to Dodge for Perfect Results Every Time
Dish soap strips sealants. Use wheel formulas only.
Hot rims bake cleaners. Always cool first.
Aggressive pads scratch. Soft bristles rule.
Skip valve stems. Dust clogs. Blast them clean.
Tire shine on rims? Greasy mess. Wrong product.
Calipers hide gunk. Brush behind. Full job.
Test cleaners hidden. Paint safe matters.
Over-spray grass kills. Mask areas. Tidy up.
Dodge these. Pros every time. Trust grows.
Spot those stubborn deposits early. Grab your kit. Clean safe. Seal strong. Your rims turn heads.
Try steps this weekend. Snap before-and-after pics. Share in comments. What works for you?
Clean rims boost pride. Protect them right. Drive happy.
(Word count: 1487)