You’ve battled a tubeless tire that just won’t seat. You pump until your arms ache, yet the bead stays stubborn. That hiss of escaping air mocks your efforts.
A high-pressure floor pump changes everything. It delivers quick volume and pressure without a bulky compressor. You save cash and hassle, whether at home or trailside. This method works for most mountain bike or gravel setups. Plus, it beats tubes for lighter weight and puncture resistance.
Safety comes first. Grab eye protection and check your tire’s max PSI rating. You’ll avoid nasty surprises. In this guide, we cover tools, prep, step-by-step pumping, and fixes for tough cases. Follow along, and you’ll pop that bead in minutes. Let’s get your wheel rolling smooth.
Gear Up with the Right Tools for Easy Bead Seating
Start with solid gear. It makes the job smooth and prevents frustration. A good floor pump leads the pack. You need one that hits at least 160 PSI. Look for a digital gauge for spot-on reads. A large barrel pumps air fast, which seats the bead quicker.
Tire levers come next. Plastic ones won’t scratch rims. Tubeless tape seals the rim bed tight. Fresh sealant plugs holes on the fly. A valve core remover lets air rush in freely. Keep soapy water in a spray bottle; it lubes the bead for that satisfying pop.
Don’t skip rags for cleanup. Isopropyl alcohol wipes away old gunk. Gloves and safety glasses protect your hands and eyes from sealant splatter or bursts. You can assemble this kit under $50. Cheap pumps fail here, so invest wisely. Quality tools mean success every time.
These items fit in a small bag. Take them on rides for roadside fixes. Now, let’s zero in on the star: your pump.
Pick a Floor Pump That Packs the Punch You Need
Choose a floor pump built for tubeless work. High volume moves air fast into the tire. Aim for 120 PSI or higher on the gauge. Accurate readings prevent over-pump mishaps.
A stable base keeps it upright during fast strokes. Dual-head models switch between Presta and Schrader valves easy. Hand pumps tire you out quick; floor pumps let you blast air with leg power.
Avoid bargain pumps capped at 100 PSI. They lack the burst for seating. Brands with aluminum barrels last longer. Test yours at home first. Pump an old tube to max; it should hold steady.
Grab These Must-Haves to Avoid Mid-Job Trips to the Store
Stock up on tire levers next. Four plastic ones handle most tires. Fresh tubeless sealant, about 50ml per tire, flows better when new.
Isopropyl alcohol cleans rims spotless. Mix dish soap in a bucket for lube spray. Reusable valve cores and pump heads save repeats. Pick quality sealant; it clings better after seating.
These extras prevent downtime. With everything ready, you focus on the wheel.
Prep Your Wheel and Tire Like a Pro Before Pumping
Good prep fixes 90% of seating woes. Dirty rims or bad tape cause failures. Clean first, then tape and mount smart.
Wipe the rim with alcohol. Remove dents or wobbles that trap air. Install tape wider than the rim bed. Poke the valve hole clean. Mount the tire halfway on both sides. Add sealant before full install.
Spin the wheel to spread sealant even. Dry beads slip less with soap lube. Prep takes 10 minutes but pays big. Skip it, and you’ll pump forever.
Visualize a shiny rim bed. That’s your goal. Old tape leaves residue that blocks seals.
Clean and Tape Your Rim for a Bulletproof Seal
Peel off old tape fully. Alcohol swabs make the bed gleam. Skip this, and air leaks persist.
Choose tape 2-3mm wider than rim ID. Stretch it tight as you wrap. Beat-up rims need two layers. Cut the valve hole precise.
Thread the valve snug, not overtight. It stays put during pumps. Clean tape grips better, so beads seat first try.
Mount the Tire and Load Up Sealant Without Spills
Lube beads with soapy spray. It reduces friction big time. Use levers to seat one side fully.
Flip the wheel. Repeat on the other side. Pour sealant through the valve or pry one bead loose briefly. Reinstall the core loose for now.
Shake the wheel side to side. Sealant coats the inside even. This step seals punctures before you ride.
Pump Like a Champ: The Step-by-Step Bead Seating Dance
Now the fun part. Pump smart to seat without drama. Start low to avoid blowouts. Shake often for even pressure.
Watch for the pop: a thunk or hiss change signals success. Both beads bulge uniform when done. Use leg power; stand on the pedal.
Helpers shake while you pump. Feel a sudden drop in resistance? That’s the seat. Here’s the sequence.
- Remove the valve core if possible. It lets max air flow.
- Add 10-15 PSI slow. Roll the tire side to side on the ground.
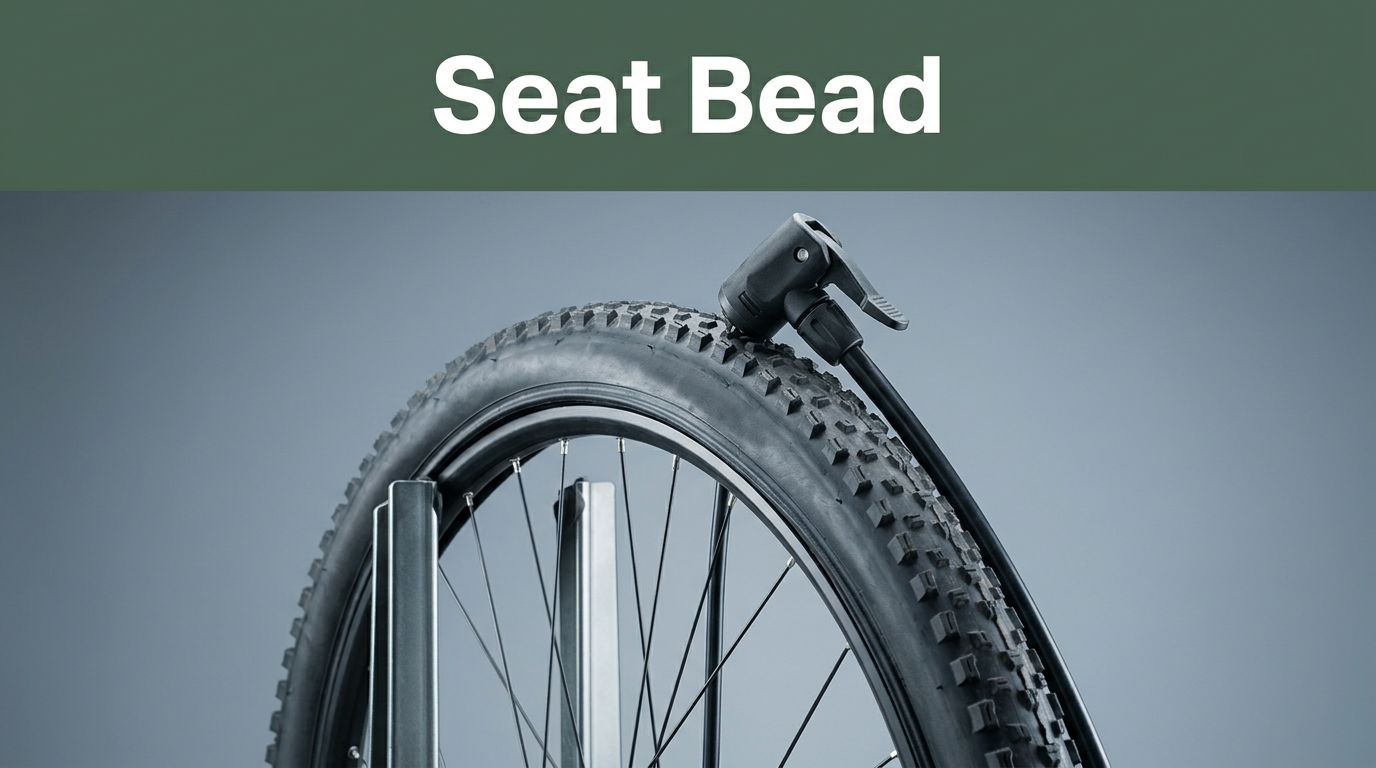
- Spray soap on the bead. Bubbles show gaps.
- Pump bursts of 5-10 strokes fast. Shake after each.
- Repeat until you hear the pop. Both sides seat even.
- Top to 30 PSI quick. Check bulges match.
- Install core. Inflate to tire spec, like 40 PSI for MTB.
Spin and spray soap for leaks. Add sealant if needed. You’re ride-ready.
Start Low and Shake: Build Pressure Without Blowouts
Inflate to 15 PSI max first. No core blocks less. Roll the wheel horizontal.
Tap the rim light with a mallet if handy. Soap spray reveals unseated spots. Bubbles dance where air escapes.
Shake vigorous. It breaks surface tension. Pressure builds even then.
Go for the Pop: Rapid Pump Bursts to Seat the Bead
Core out again. Blast 5-10 strokes hard. Listen close.
A thunk means one side seated. Hiss quiets on the other. Shake, repeat.
Patience pays. Most seat in three bursts. Both bulges confirm it.
Finish Strong: Full Inflation and Leak Hunt
Core back in snug. Pump to recommended PSI slow.
Spin the wheel fast. Spray soap everywhere. No bubbles? Good seal.
Slow leaks get extra sealant via remover. Shake post-add. Test ride shakes out burps.
Stuck Bead? Quick Fixes to Get You Back on the Trail Fast
Beads resist sometimes. Don’t panic. Most fixes take minutes.
Low volume hurts; bigger barrel pumps help. Dry beads need more soap. Bad tape wrinkles block air.
Wrong tire size won’t seat. Check specs first. Frozen sealant warms with hot water.
Never exceed 60 PSI unseated. Pro tip: zip ties around bead give boost, remove after. Borrow a compressor last resort.
Damaged rims mean shop time. Otherwise, you win quick.
Soap It Up More and Pump Faster for Stubborn Spots
Double soap lube. Shake aggressive. Deflate partial, reinflate cycles work.
Faster pumps build burst. Helper shakes amps success.
Check These Sneaky Culprits Before Giving Up
Inspect tape for shifts. Low sealant starves seals. Rim dents trap air.
Bead damage shows on mount. Fix these, retry.
Tubeless setups shine with floor pumps. You save trips and tubes. Lighter bikes roll faster, flats stay rare.
Grab your pump, try this trailside. Film your first pop; share in comments below. What’s your toughest bead story? Hit subscribe for more fixes like sealant refresh tips.
Smooth spins await. Ride on.
(Word count: 1487)