You’ve pedaled hard on a group ride. Suddenly, a constant rubbing noise from your rear wheel drowns out the fun. Brakes squeal with every turn of the cranks. This frustration hits many cyclists. Rim brake calipers out of center cause uneven pad contact. One pad drags while the other sits idle.
Centering means you align the calipers so pads touch the rim evenly from both sides. This simple fix quiets the noise. It improves control during stops. Pads last longer too. You get safer braking overall. Best part? It takes minutes with basic tools. No shop visit needed.
Many riders ignore the rub at first. Then it worsens. Uneven wear shortens pad life. Braking feels grabby on one side. Fix it now. This guide walks you through every step. You’ll ride smoother by the end.
Spot the Telltale Signs Your Rim Brakes Need Centering
Riders notice issues during normal spins. A rub noise starts subtle. Then it grows loud. Your bike pulls left or right when you brake. Pads wear thin on one side only. These clues scream for centering.
Trail bumps knock calipers off kilter. Loose cables shift things too. New wheel installs often misalign arms. Think of it like crooked shoes. They rub blisters if not fixed. Spin your wheel free. Squeeze the lever. Watch pads hug the rim even. Rubbing means trouble.
Fix early. It prevents slips in wet conditions. You save cash on new pads. Safer stops build confidence on descents.
Listen for That Annoying Rub
Pedal freely on a flat road. Hear a steady squeak? That’s one pad scraping the rim. It pulses with each spoke pass.
Lift your bike. Spin the wheel by hand. No coasting noise? Good. Squeeze brakes lightly. Rub returns? Pinpoint the side. Rear brakes rub most from chainstay flex.
Dirt builds up too. Clean first. Then test again. This sound wastes energy. It signals uneven contact.
Check for Uneven Pad Wear
Stop and inspect pads up close. Pull the lever. Look at contact points. One pad smooth and thin? The other barely touched?
Wear happens fast on the dragging side. Braking weakens there. Replacements cost extra trips to the shop.
Grab a ruler. Measure thickness. Under 1mm means swap time. Even wear means centered calipers. Check both front and rear.
Gather These Simple Tools Before You Start
Prep keeps the job smooth. You need basics from your kit. No expensive gear required.
Start with an Allen wrench set. Sizes 4mm and 5mm loosen caliper bolts. A Phillips screwdriver handles the cable pinch bolt.
Grab a clean rag. Wipe pads and rim free of grime. Pliers help if cables stick. A brake pad spreader eases access, but fingers work fine.
Work on a stable stand if you have one. It holds the bike steady. Clean everything first. Fresh surfaces align better.
Pro tip: Keep torque at 6-8 Nm. Snug, not stripped. You’re set in under five minutes.
Follow This Easy Step-by-Step Guide to Center Your Calipers
Work one brake at a time. Front first, then rear. Similar process fits V-brakes and side-pulls. Patience pays off. Test after each side.
Loosen bolts gently. Squeeze to center. Tighten while holding. Fine-tune tension last. Spin wheels free at every stage.
Safety note: Short test ride confirms power. No wobbles allowed.
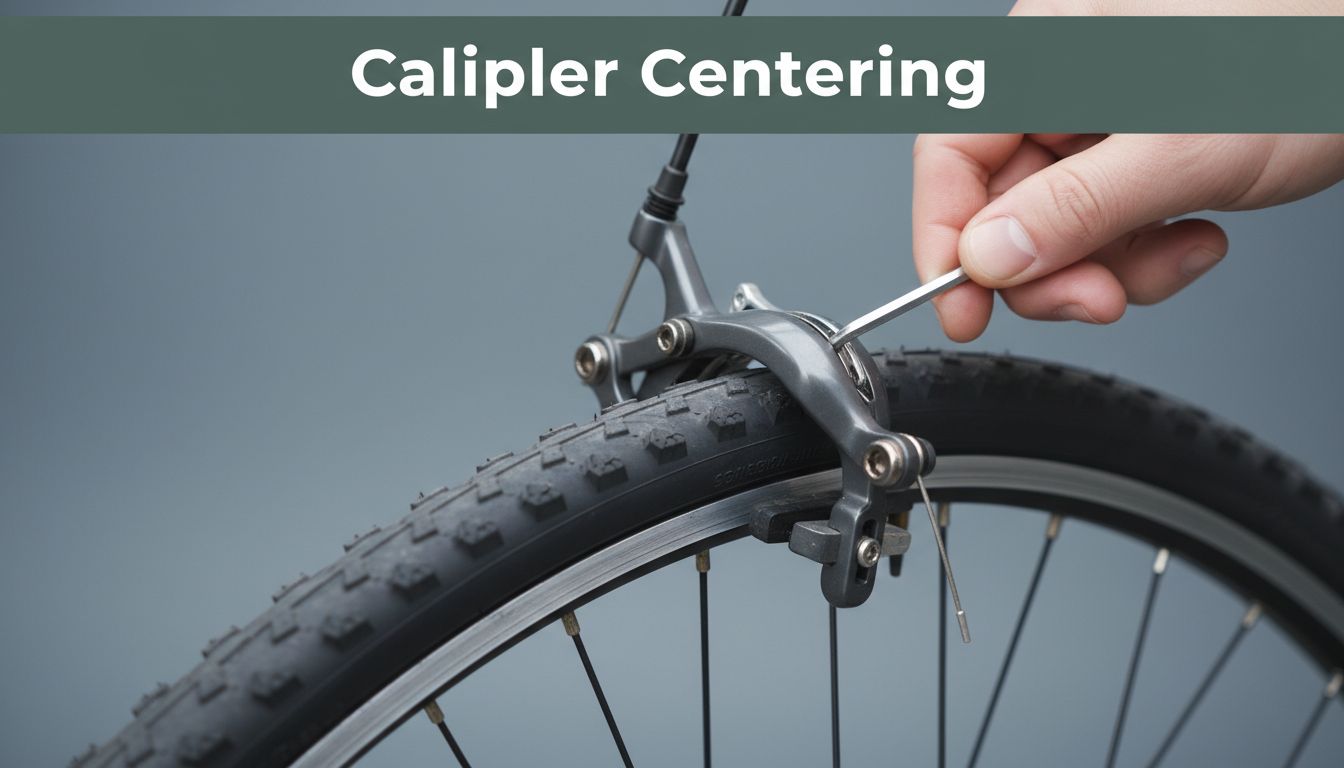
Loosen the Caliper Mounting Bolts
Find the two bolts on the caliper mount. One per arm usually. Frame or fork holds them.
Use your Allen wrench. Turn counterclockwise 1-2 full turns. Don’t remove fully. Parts drop easy.
Caliper arms flop loose now. Pads clear the rim. Wiggle to confirm play. This step resets position.
Compress Pads and Retighten Securely
Squeeze the brake lever hard. Hold it fully pulled. Pads center on the rim natural.
Keep squeezing. Tighten mounting bolts finger-tight first. Then wrench to 6-8 Nm snug.
Release lever slow. Spin wheel. No rub? Success. Rub remains? Loosen and repeat.
This trick uses cable pull to self-align. Works every time.
Fine-Tune Cable Tension and Toe-In
Check lever play. Aim for 2-3mm before pads grab. Turn barrel adjuster clockwise to tighten. Counterclockwise loosens.
Set toe-in next. Front pad edge touches rim first. Loosen pads slightly. Nudge front edge forward.
Test spin. Wheel coasts free. Brakes engage smooth. Tension balance prevents slips.
Repeat and Test on a Short Ride
Do the rear brake same way. Spin both wheels. Squeeze hard. Listen close.
Hop on for a block loop. Brake firm in a safe spot. Feel even power? No pull? Done.
Adjust if needed. Most tweaks take seconds. Ride confident now.
Troubleshoot Common Issues for Perfect Results Every Time
Problems pop up sometimes. Still rubs after centering? Cables stick in cold weather. Pads wear thin fast.
Don’t panic. Most fixes quick. Re-check steps first. Patience gets perfection.
Worn rims groove uneven. Consider disc brakes later. For now, lube cables. Swap bad pads.
Build skill here. You’ll tune your bike solo.
One Side Still Rubbing After Centering
Uneven squeeze causes this. Lever pull favors one arm.
Try a pad spacer. Slip thin cardboard between pad and rim. Squeeze and tighten. Remove spacer.
Check frame alignment. Bent fork? Shop help needed. Repeat centering twice.
Brakes Feel Too Loose or Too Tight
Too loose means slips under power. Tighten barrel adjuster a half turn.
Too tight rubs constant. Loosen incrementally. Test spin each tweak.
Balance takes trial. 2-3mm play feels right. Brakes bite quick then.
Even contact transforms rides. Quieter paths await. You control stops better now. Pads endure longer too.
Grab tools today. Center those calipers. Share your before-and-after in comments. Fixed the rub yet?
Next, learn pad swaps. Or full tune-ups keep you rolling. Bookmark this. Ride safe out there.