That creak from your bike’s bottom bracket during a hard pedal stroke grabs your attention fast. You wonder if your ride is about to fail mid-climb. A threaded bottom bracket holds your cranks in place with cups screwed into the frame. Play or movement there means looseness in those cups or worn bearings. It steals your power and risks bigger damage.
Spot it early, and you avoid costly repairs. Riders often ignore small wobbles until they worsen. This guide shows the best hands-on test. You lift the rear wheel and check crank movement with no special tools. It works great for road, gravel, or mountain bikes with threaded BBs. No guesswork needed. You’ll feel confident after one quick check.
Spot the First Warning Signs of Bottom Bracket Play
You push hard on the pedals, and a faint click echoes from the center of your bike. That sound points to bottom bracket play. It starts subtle but grows. Loose cups or bad bearings cause it. Over time, they grind metal and ruin efficiency.
Riders notice it most on rough roads or climbs. Your legs work harder because power slips away. It feels like pedaling through mud. Chain noise or loose pedals mimic this, but BB issues stay right at the frame’s bottom. A shaky steering wheel in your car acts the same way. Small play leads to big shakes.
Check yourself while riding. Stand out of the saddle and pedal. Listen close. Feel for shifts in the cranks. Early signs save your setup.
Creaks and Clunks That Point to Trouble
Creaks come from dry bearings or loose cups. They squeak when you stand and pedal. Rough roads bring metallic clunks. Cleaning and lubing the chain won’t fix it. BB noise persists because it’s inside the frame.
Stand on the pedals during your next ride. Pedal hard out of the saddle. That amplifies the sound. If clunks follow each stroke, suspect the bottom bracket. Tight chains don’t creak there.
Wobbly Cranks You Can Feel Under Power
Sprint, and the cranks feel sloppy. Your bike doesn’t snap forward like it should. Power goes into wobble instead of speed. Tight cranks respond sharp. Loose ones lag.
It worsens on climbs. You lose that direct connection to the road. Compare it to loose handlebars. Small play builds to danger. Feel it under power, and stop riding until you check.
Gear Up with Minimal Tools for Accurate Testing
Start with the basics to test right. Flip your bike upside down on the handlebars and saddle. Use old towels to protect the bars and paint. Or ask a friend to lift the rear wheel. A repair stand works best if you have one.
Grab clean rags next. Wipe the chain and BB area dry. Dirt hides subtle play. Clean hands help you feel better too. Wash up first.
You don’t need a full tool kit. A bottom bracket wrench comes later if play shows up. Skip disassembly for now. Focus on feel.
This setup lets you spin cranks free. No pedals in the way. Dry parts give true feedback. Beginners nail it this way. Pros use the same steps.
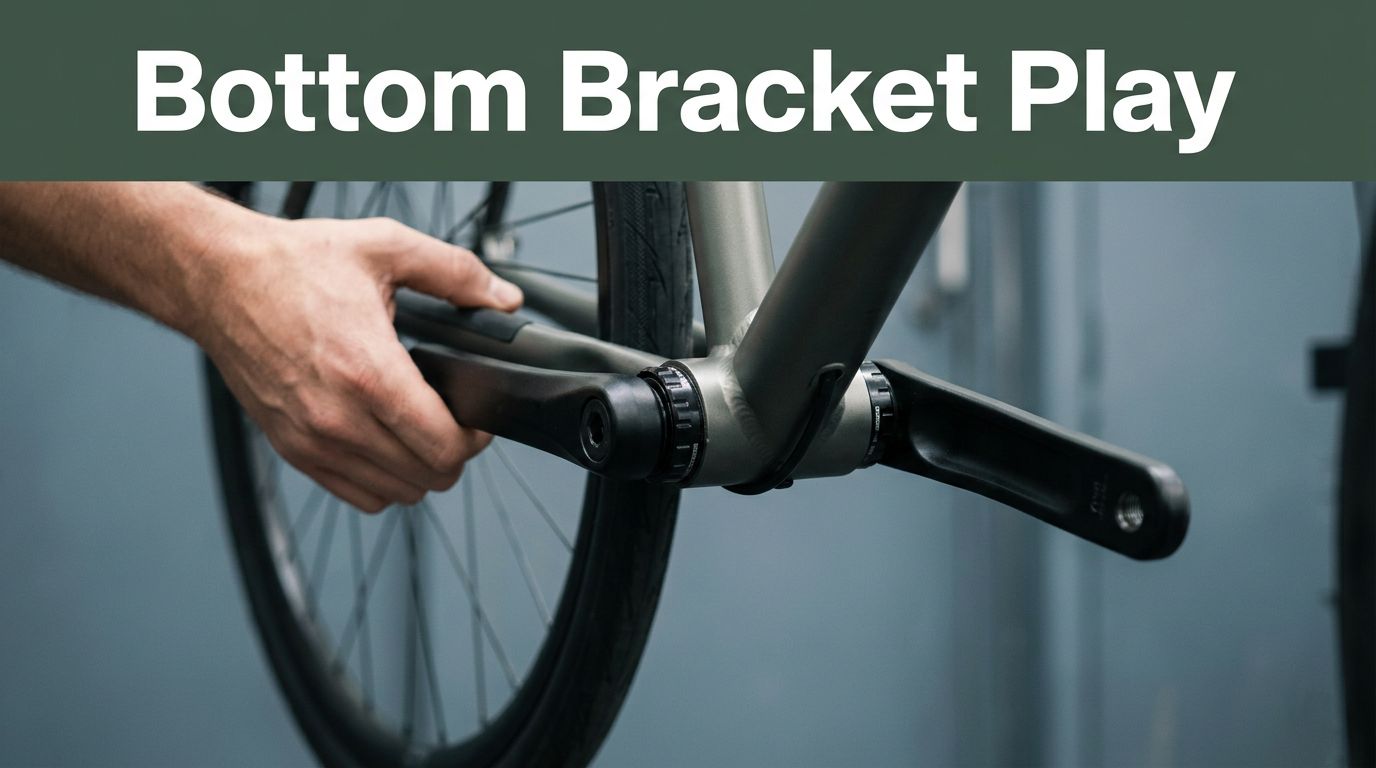
Master the Hands-On Test: Check Cranks Like a Pro
Lift the rear wheel off the ground. Dry your hands. Position the cranks horizontal. This test spots play in threaded bottom brackets fast. Repeat it twice for sure results.
Rock the cranks side to side first. No movement means solid cups. Then push fore and aft. Smooth spin checks bearings. Backward pedaling reveals knocks.
Follow these steps every 500 miles. It beats vague rideside checks.
- Grab both crank arms at 3 and 9 o’clock positions. Rock them left to right with firm pressure. Eyes on the BB shell. No shift or noise? Good to go.
- Switch to fore-aft. Pull one crank forward, push back. Do the other side. Tiny flex from the frame is normal. Clunks or big moves signal trouble.
- Spin the cranks by hand. Go smooth and steady. Feel for grit or binding. They should turn like silk.
- Shift to big chainring and smallest rear cog. Tension the chain. Pedal backward slow. Listen for knocks from the BB.
Compare left and right cranks. One side looser? Cups need tightening. No play across tests means your BB holds strong.
Rock Side to Side for Side Play
Hold cranks at 3 and 9 o’clock. Rock hard side to side. Watch the BB area close. Threaded cups should lock tight. Any visible shift means loose threads. Noise confirms it.
Push steady, not jerky. Feel the resistance. Solid means no play. Loose cups let cranks wander. Fix that before rides.
Push Fore and Aft to Find Axial Movement
Pull the right crank forward. Push it back. Repeat on the left. Chainstays flex a hair, that’s fine. But clunks or excess give away bad bearings.
Keep pressure even. Axial play hurts power transfer most. It shows under load. Catch it here, and you save the cups.
Spin and Feel for Roughness or Binding
Rotate cranks forward smooth. Use both hands. Good bearings glide free. Worn ones grind or stick.
Listen too. No rattles inside. Smooth spin rules out most issues. If it binds, bearings need work.
Pedal Backwards to Reveal Hidden Knocks
Big ring, small cog. Chain pulls tight. Pedal back slow. Knocks from BB stand out now. Other noises fade.
This test mimics road stress. Clunks here prove play. No sound? Your threaded BB shines.
Next Steps: Tighten It Up or Get a New Bottom Bracket
Play confirmed? Tighten first. Grab a bottom bracket tool. Snug the cups to 20-35 Nm torque. Don’t overdo it, or threads strip.
Check again after. Play gone? Ride on. If it returns fast, replace. Gritty spin or visible wear means new bearings or full BB.
Cartridge bottom brackets swap easy. No cup chasing needed. Shops handle it quick if you’re unsure.
Prevent issues with checks every 500 miles. Clean and lube regular. Tight cranks mean smooth power.
You’ll ride stronger. No more wasted watts.
Your threaded bottom bracket test boils down to this: lift the rear wheel, rock side to side and fore-aft, spin smooth, pedal back for knocks. Simple moves spot play fast.
Test yours today. Catch it early for worry-free miles. Share your results in the comments. What did you find? Subscribe for more bike fixes.
Ride strong.