Picture this. You head out for a quick spin on your favorite trail, but your heel clips the chainstay again. Scratches pile up fast on that spot. Soon, your bike frame looks rough from daily abuse.
High-wear areas like chainstays, downtubes, and bottom brackets take the worst hits. Heels rub chainstays during pedaling. Pedals smack the downtube on rough terrain. Chain slap beats the bottom bracket. These spots wear out because they face constant contact in normal rides.
Protective film offers a simple fix. This clear, tough layer shields paint without changing your bike’s look. You save cash on repairs. Resale value stays high. Plus, it’s a DIY job anyone can handle. You’ll get pro results in under two hours.
In the sections ahead, you’ll learn to spot trouble zones, gather tools, prep right, apply film step by step, and care for it long-term. Your frame will thank you with years of smooth rides.
Pinpoint the High-Wear Areas on Your Bike
Start by inspecting your bike frame close up. Park it in good light. Run your fingers over potential hot spots. Look for scuffs, chips, or faded paint. These signs show where abuse happens most.
Chainstays catch heels and chain drops. Downtubes get pedal strikes, especially on climbs. Bottom brackets suffer from chain noise. Top tubes might see seat post rubs if you adjust often. Road bikes see less chain slap than mountain bikes on bumpy paths. However, both types need protection in key zones.
Clean the frame first with mild soap. Dry it well. Dirt hides true damage. Does your chainstay look beat up? Mark those areas with a soft pencil. This step builds your plan.
Mountain bikes face more rock dings on downtubes. Road bikes deal with heel scrapes from cleats. Know your ride style. Then focus efforts there.
Chainstays: Your First Defense Line
Chainstays run from bottom bracket to rear dropout. They guard your drivetrain. Heels scrape them on every pedal stroke. Chains grind during drops or slips.
These tubes curve often. That shape challenges film fit. Measure from bracket to dropout. Add two inches extra for overlap. Feel for dents now. Fix deep ones before film.
Riders notice wear here first. It spreads fast without cover.
Downtube and Pedal Strike Zones
Downtubes sit under the frame’s top. Pedals or cranks hit them on tight turns. Technical trails make this common. Mark spots with low-tack tape.
Clean around pedals. Spin cranks to spot contact points. Road bikes see fewer strikes. Off-road setups take more punishment. Cut film to match these exact zones. Precision pays off later.
Gear Up with the Right Tools and Film
Gather supplies before you start. Quality matters for lasting results. Skip cheap options. They peel early.
Pick polyurethane film from trusted brands like 3M or Avery. Aim for 8 to 12 mil thick. Thicker holds up better. Glossy matches shiny paint. Matte hides swirls on rough frames.
You’ll need a plastic squeegee for bubbles. Microfiber cloths wipe clean. Isopropyl alcohol degreases. A heat gun or hairdryer shrinks edges. Use an exacto knife for trims. Application spray slips the film into place.
Buy online or at bike shops. Starter kits run under $50. Pre-cut kits fit popular models. They save time if your frame matches.
Compare types quick. Thinner film bends easy but wears faster. Thicker costs more yet lasts two years. Test a sample on scrap metal first.
| Film Type | Thickness | Best For | Cost per Sheet |
|---|---|---|---|
| Basic Poly | 6 mil | Light use | $10 |
| Mid-Range | 8-10 mil | Daily rides | $15-20 |
| Premium | 12 mil | Off-road | $25+ |
This table shows options at a glance. Choose based on your riding. Mid-range suits most folks.
Prep Your Bike for Flawless Application
Prep sets up success. Skip it, and film fails fast. Work in a dust-free garage. April humidity means extra dry time.
First, wash the bike with bike soap. Rinse well. Then wipe high-wear spots with alcohol on microfiber. It cuts grease without harm.
Dry fully. Fans speed this. Mask nearby paint with painter’s tape. Leave one-inch borders. Dirt traps cause bubbles. Clean hands too.
Deep Clean Without Damaging Paint
Chain areas need degreaser. Spray, scrub gentle, rinse. Other spots get alcohol wipes only. Skip abrasives. They scratch base paint.
Test cleaners on hidden frame spots. Dry 30 minutes. Surface must feel tack-free.
Measure and Cut Film Precisely
Template curves with transfer paper. Press it on frame. Trace to film side. Cut oversized by half inch.
Account for bends. Snip relief cuts for sharp angles. Practice on paper first. Oversize lets you trim after stick.
Master the Application Process Step by Step
Now apply with the wet method. It forgives slips. Total time hits one to two hours. Patience wins.
- Mix spray solution: water, drop of baby shampoo, pinch alcohol. Shake well.
- Spray bike surface heavy. Wet film backing too.
- Peel liner slow. Slide film onto wet spot. Align edges.
- Squeegee center first. Push out to sides. Use light pressure.
- Heat edges with gun on low. Shrink to curves. Stretch gentle.
- Trim excess with knife at 45 degrees. Final squeegee. Let dry 24 hours.
Work flat areas first. Curves come last. Wipe drips quick.
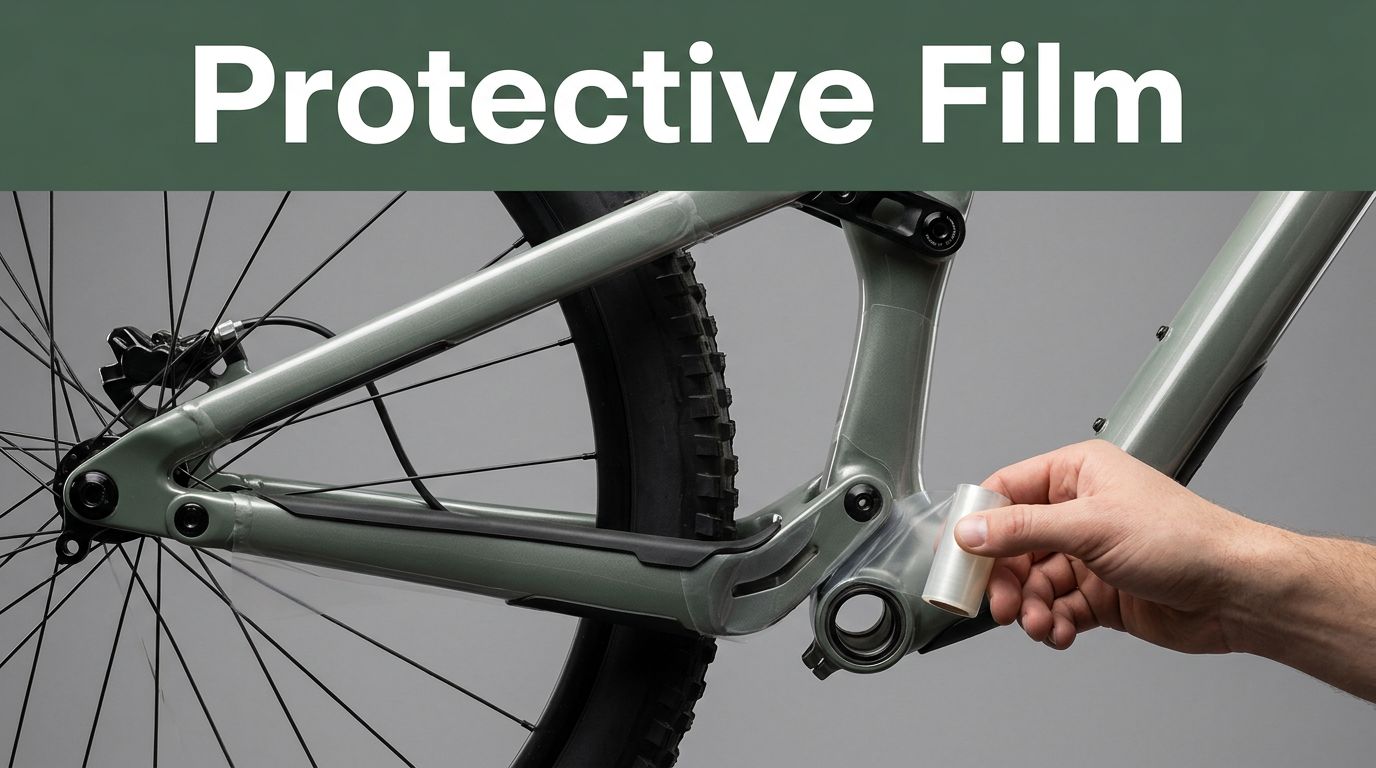
This image captures mid-process alignment.
Position and Stick the Film Smoothly
Eyeball from multiple angles. Wet back lets you slide easy. Start top to bottom. Firm squeegee pulls it down.
Misalign? Lift and reposition. Solution keeps it slick.
Tame Bubbles and Edges Like a Pro
Small bubbles? Poke with knife tip. Squeegee air out. Heat lifts stubborn ones.
Edges curl? More heat, press firm. Dry slow in shade. Pro tip: overlap strips half inch on long runs.
Seal the Deal: Aftercare and Long-Term Tips
Cure time matters. Wait 48 hours before rides. Film bonds full then.
Wash gentle with soap. Skip pressure washers. They lift edges.
Replace after one to two years heavy use. Check for peels monthly.
Layer extra film on brutal spots. It doubles protection.
This boosts frame life big time. More fun, less worry.
Spot and Fix Common Rookie Mistakes
Dirt skips cause bubbles. Re-prep fixes it.
No heat means lifting. Warm next time.
Cheap film yellows in sun. Buy quality.
Rush jobs peel. Slow down for wins.
Your bike stays pristine longer. Rides feel better.
Ready to Shield Your Ride?
You now know how to spot wear zones, prep clean, apply film smooth, and maintain it right. This process saves repair bills and keeps resale strong. It’s easier than a chain lube.
Grab tools this weekend. Protect those chainstays and downtubes. Your frame handles abuse better.
Share your before-and-after pics in comments. What spot wore first on your bike? Hit subscribe for more hacks. Ride on.