Picture this. You’re cruising down a trail, wind in your face, when your chain suddenly slips off. Pedals spin uselessly. Your ride grinds to a halt. Frustrating, right?
Limit screws on your bike’s derailleurs control the chain’s range. They stop it from wandering too far in or out. Adjust them right, and you prevent drops, improve shifts, and ride safer. This guide covers signs to spot, tools needed, step-by-step tweaks for rear and front derailleurs, testing, and prevention tips.
Anyone can do this in under 30 minutes. Let’s fix your chain issues now.
Recognize When Limit Screws Need Tweaking to Keep Your Chain On
Chain drops happen often. They signal limit screws out of whack. Watch for the chain rubbing the frame or spokes. It might fall off the largest or smallest cog. Shifts to extremes feel sloppy or refuse to engage fully.
Vibrations loosen screws over time. A crash bends the derailleur hanger. Factory setups sometimes miss the mark. These issues mimic cable stretch, but limits control endpoints, not mid-range tension.
Do a quick self-check. Shift to smallest rear cog. Push the chain outward by hand. If it slips past, high limit needs tightening. Try largest cog next. Nudge inward. Falls into spokes? Low limit calls for adjustment. Rear derailleurs see most trouble because they handle more cogs. Front ones act up less, but check them too.
Top Causes Behind Chain Slippage
Worn chain links stretch and skip. Cassette teeth sharpen, grabbing wrong. Impacts from rocks bend cages or hangers. Bike shops might assemble with loose limits.
Dirt builds up. It forces the chain beyond bounds. Bumpy trails shake things loose fast. For example, after a rough descent, your chain hesitates on the big cog.
Always inspect derailleur alignment first. A crooked hanger fools adjustments. Straighten it or seek a shop if bent.
Grab These Basic Tools and Set Up for Success
You need few items. Grab a small Phillips or JIS screwdriver. It fits limit screws best. A bike repair stand helps, but flip the bike upside down otherwise. Add a clean rag and bike lube.
Prep matters. Clean the drivetrain with degreaser. Wipe chain, cassette, and chainrings dry. Pedal by hand through gears. Note rough spots.
Wear gloves for grip. Tuck in loose clothing away from the chain. No pro tools required. Watch the chain path as you turn the cranks. Stable setup prevents slips.
Precise Steps to Adjust High and Low Limit Screws
Start with the rear derailleur. It’s the main culprit. Set shifters to smallest rear cog and chainring. Pedal slowly by hand.
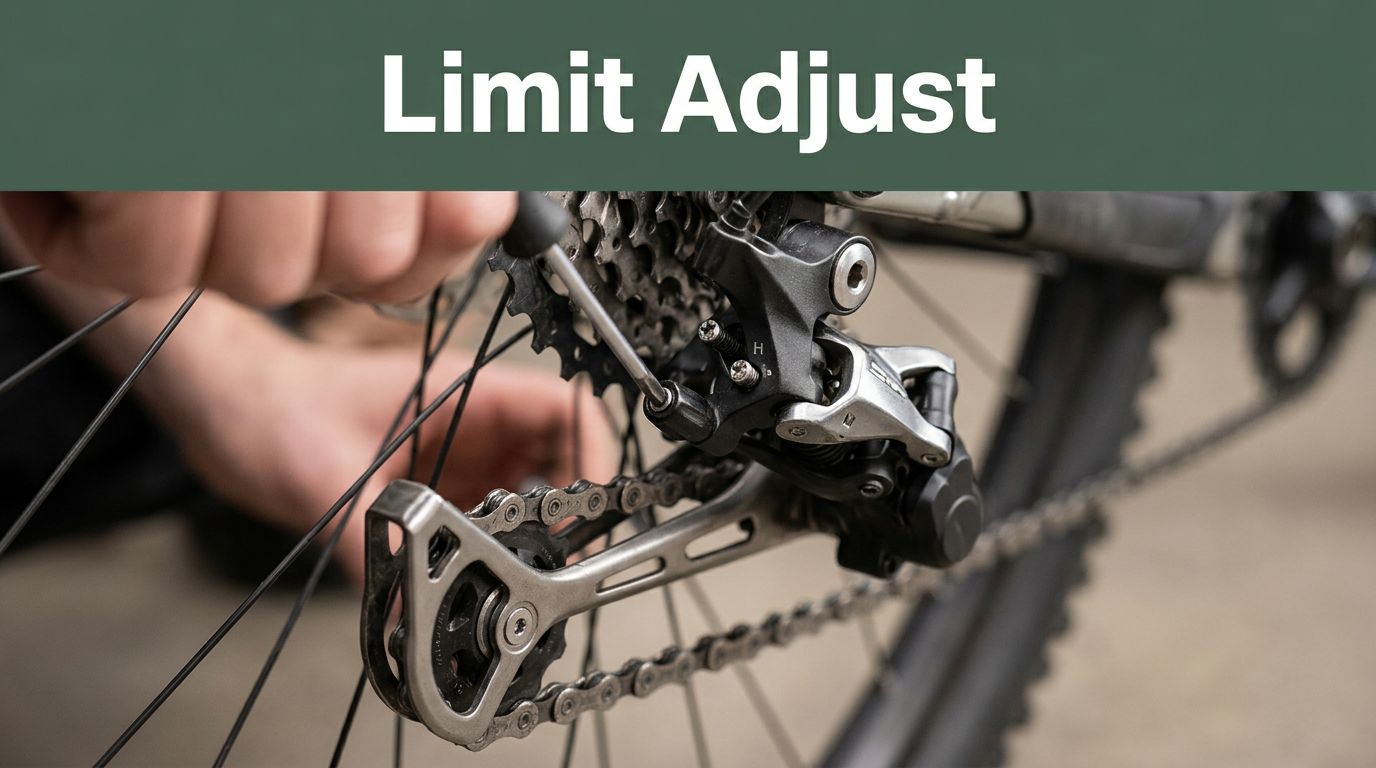
Locate screws near the derailleur body. High (H) screw blocks outward travel. Low (L) stops inward. Turn clockwise to tighten limits. Go counterclockwise to loosen. Use 1/8-turn increments only.
Mark screw positions with tape first. That way, you revert if needed. Test after each tweak. Push chain by hand or shift. Avoid over-tightening. It causes rubs or blocks shifts.
Front derailleurs follow similar logic. But rear fixes solve 80% of drops.
Nailing the High Limit Screw for Small Cog Protection
Focus on the H screw now. Chain sits on smallest rear cog and chainring. Turn H screw clockwise. Upper guide pulley aligns just outside the cog.
Stop when it blocks further out. Back off 1/8 turn. Chain should not rub or drop off. Pedal and shift back and forth. Smooth action confirms success.
The screw sits above the L on most derailleurs. Double-check pulley lines up with cog teeth.
Perfecting the Low Limit Screw to Guard the Big Cog
Shift to largest rear cog and chainring. Pedal forward. Turn L screw clockwise. Cage stops chain from pushing past into spokes or frame.
Back off slightly for quiet run. No rub on spokes. Test by pedaling hard in that gear. Chain stays seated. If it forces off, tighten more.
This prevents inside drops on climbs. Common after mud rides.
Barrel Adjusters: Your Ally for Tension Balance
Limits set boundaries. Barrel adjusters handle cable tension. Find it on shifter housing or frame.
Turn out for slack chains. In for tighter pull. After limits, dial this for crisp mid-shifts. Test full range. Shifts zip without hesitation.
Limits first, then barrels. Order avoids confusion.
Test Your Adjustments and Fix Lingering Hiccups
Ride easy first. Pedal through all gears. Listen for rubs or noise. No drops? Success.
Chain still falls? Recheck hanger straightness. Use a straight edge along it. Bent ones need pro alignment.
Shifts skip extremes? Loosen screw 1/8 turn. Sticky gears mean dirt. Clean again. Noise points to lube needs. Patience wins. Small tweaks rule.
Long-Term Habits to Prevent Chain Falls Forever
Clean and lube drivetrain weekly. Inspect after every crash. Replace chain yearly if stretched. Check cassette teeth too.
Schedule monthly limit tweaks. Turn pedals by hand in extremes. Rough terrain? Upgrade to clutch derailleurs. They grip chain tighter.
Build a maintenance calendar. Note dates for checks. Confidence grows with routine.
Rides smooth out. Repairs drop. Enjoy trails worry-free.
You’ve got the steps to adjust limit screws to prevent chain falling off. Smoother shifts and safer spins await. Grab tools and tweak today. Share your results in comments. Bookmark this for next time. Subscribe for more bike fixes. Hit the trails chain-secure.